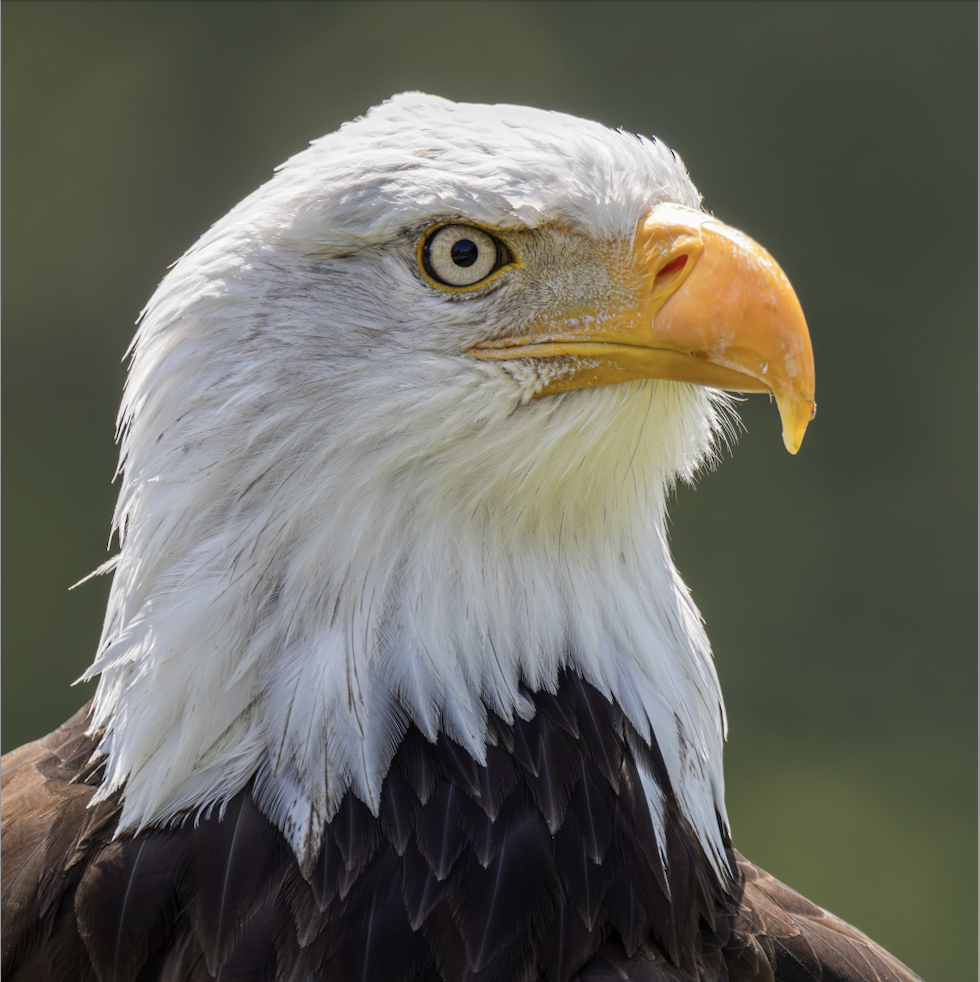
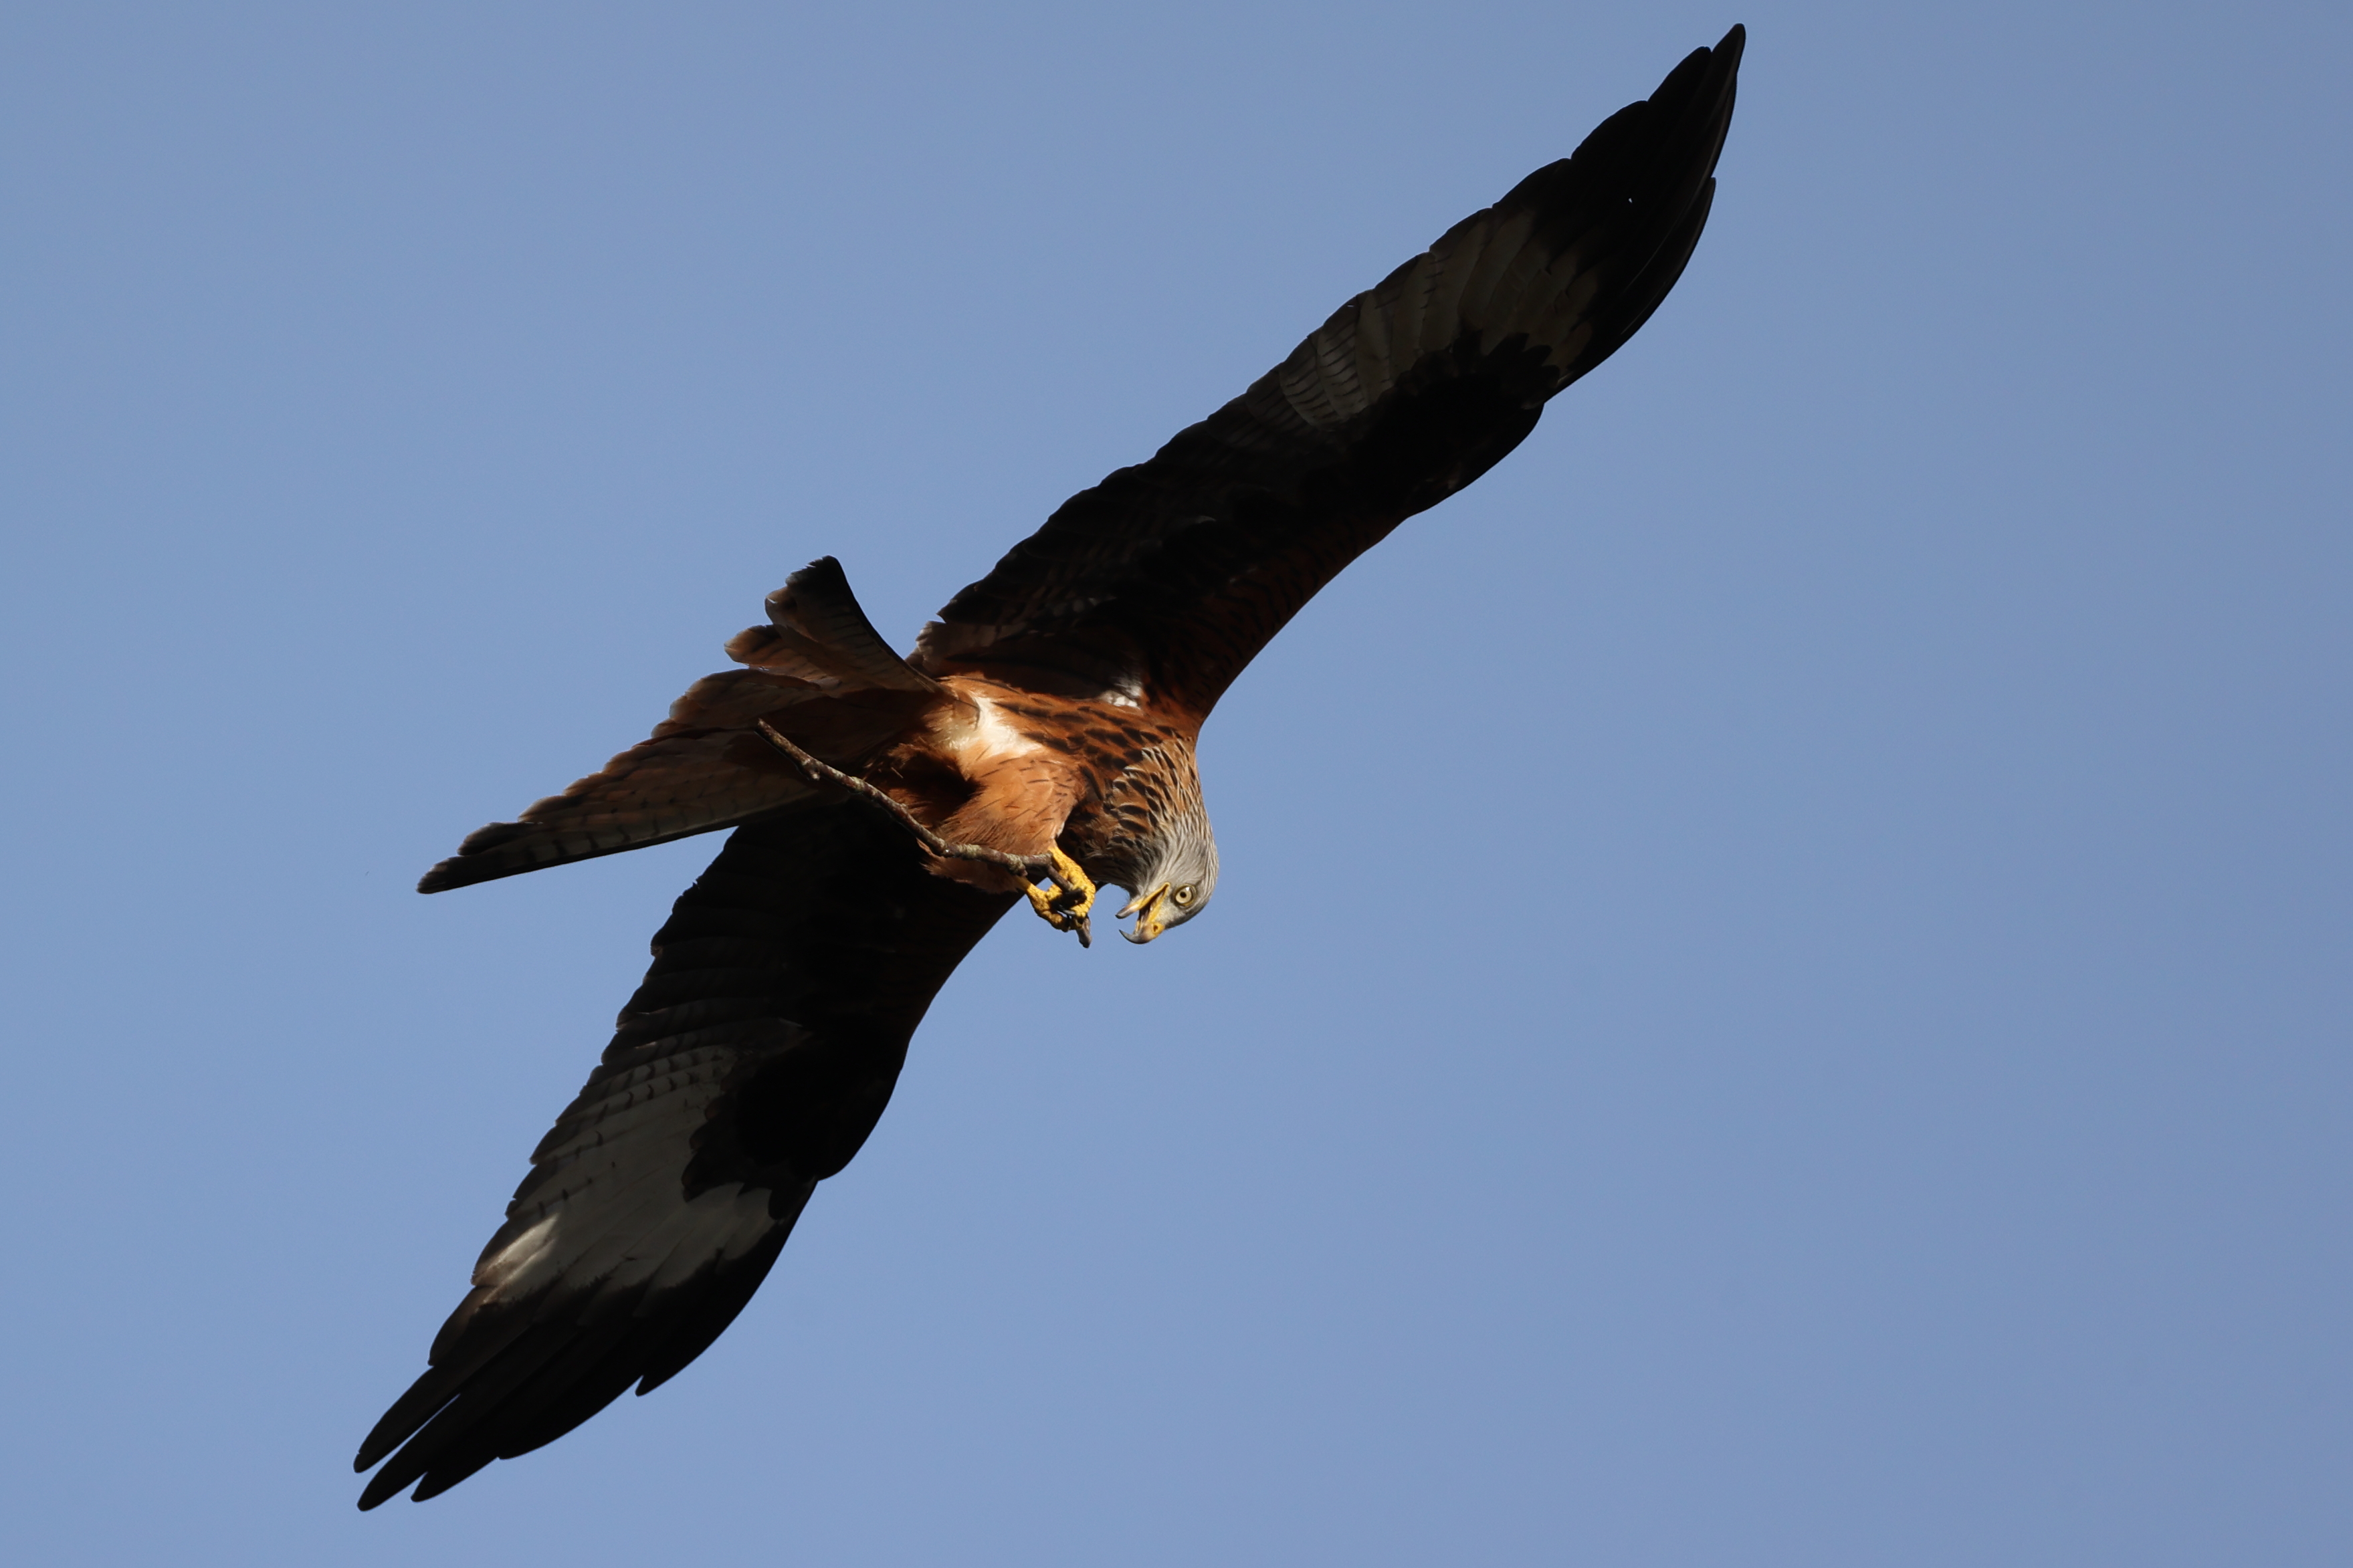
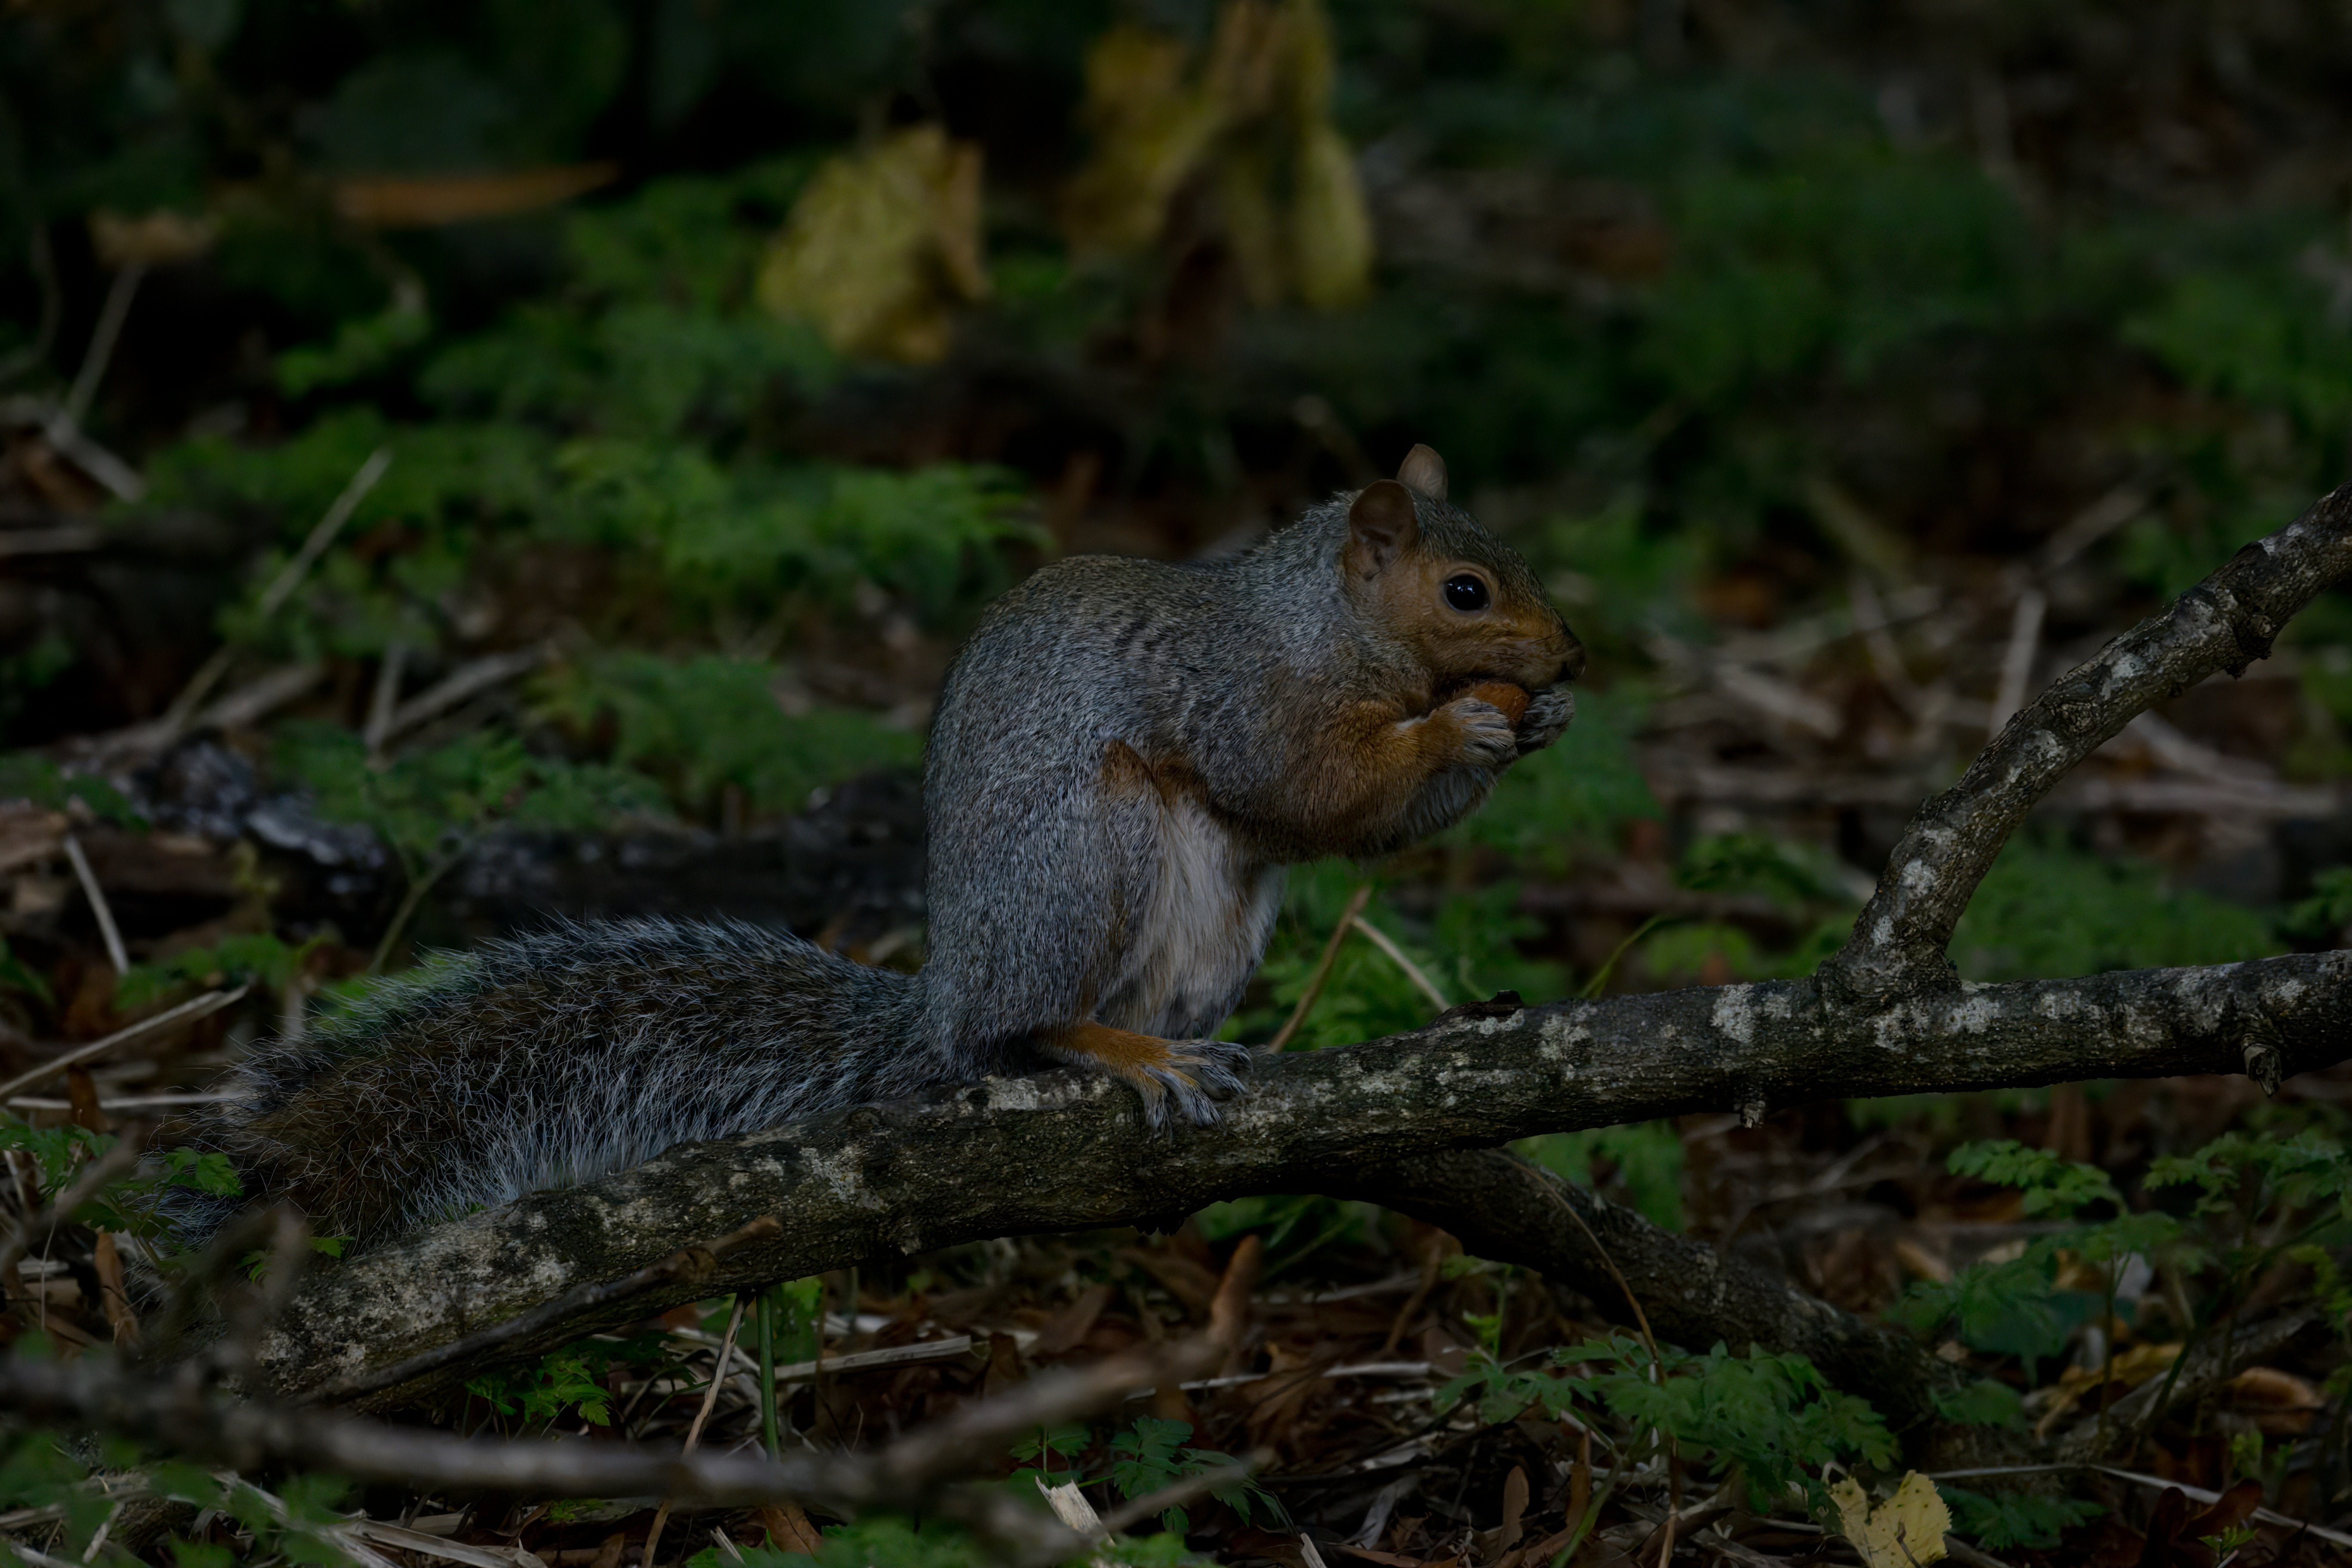
To tell you something you probably already knew, your depth of field is too short in this one, and you needed to increase the aperture or move back, so that you get the full glory of the fluffiness on the right.
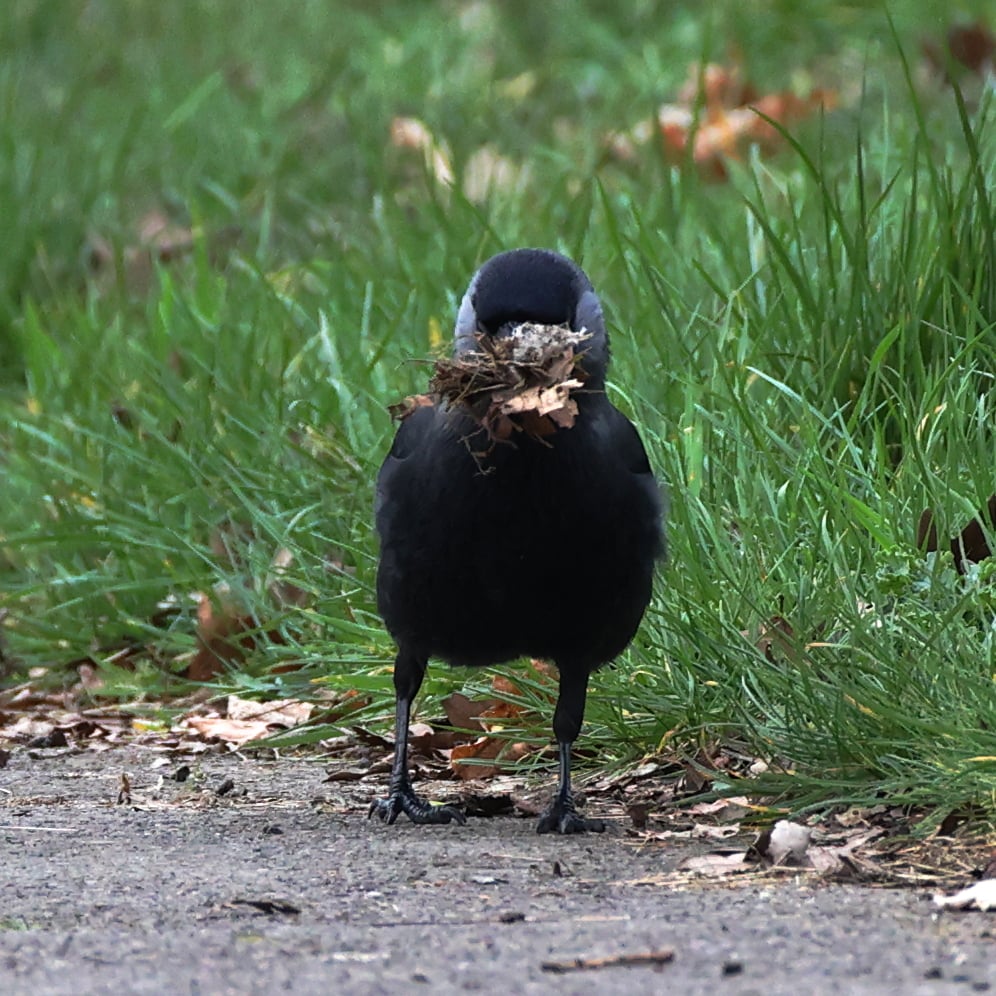
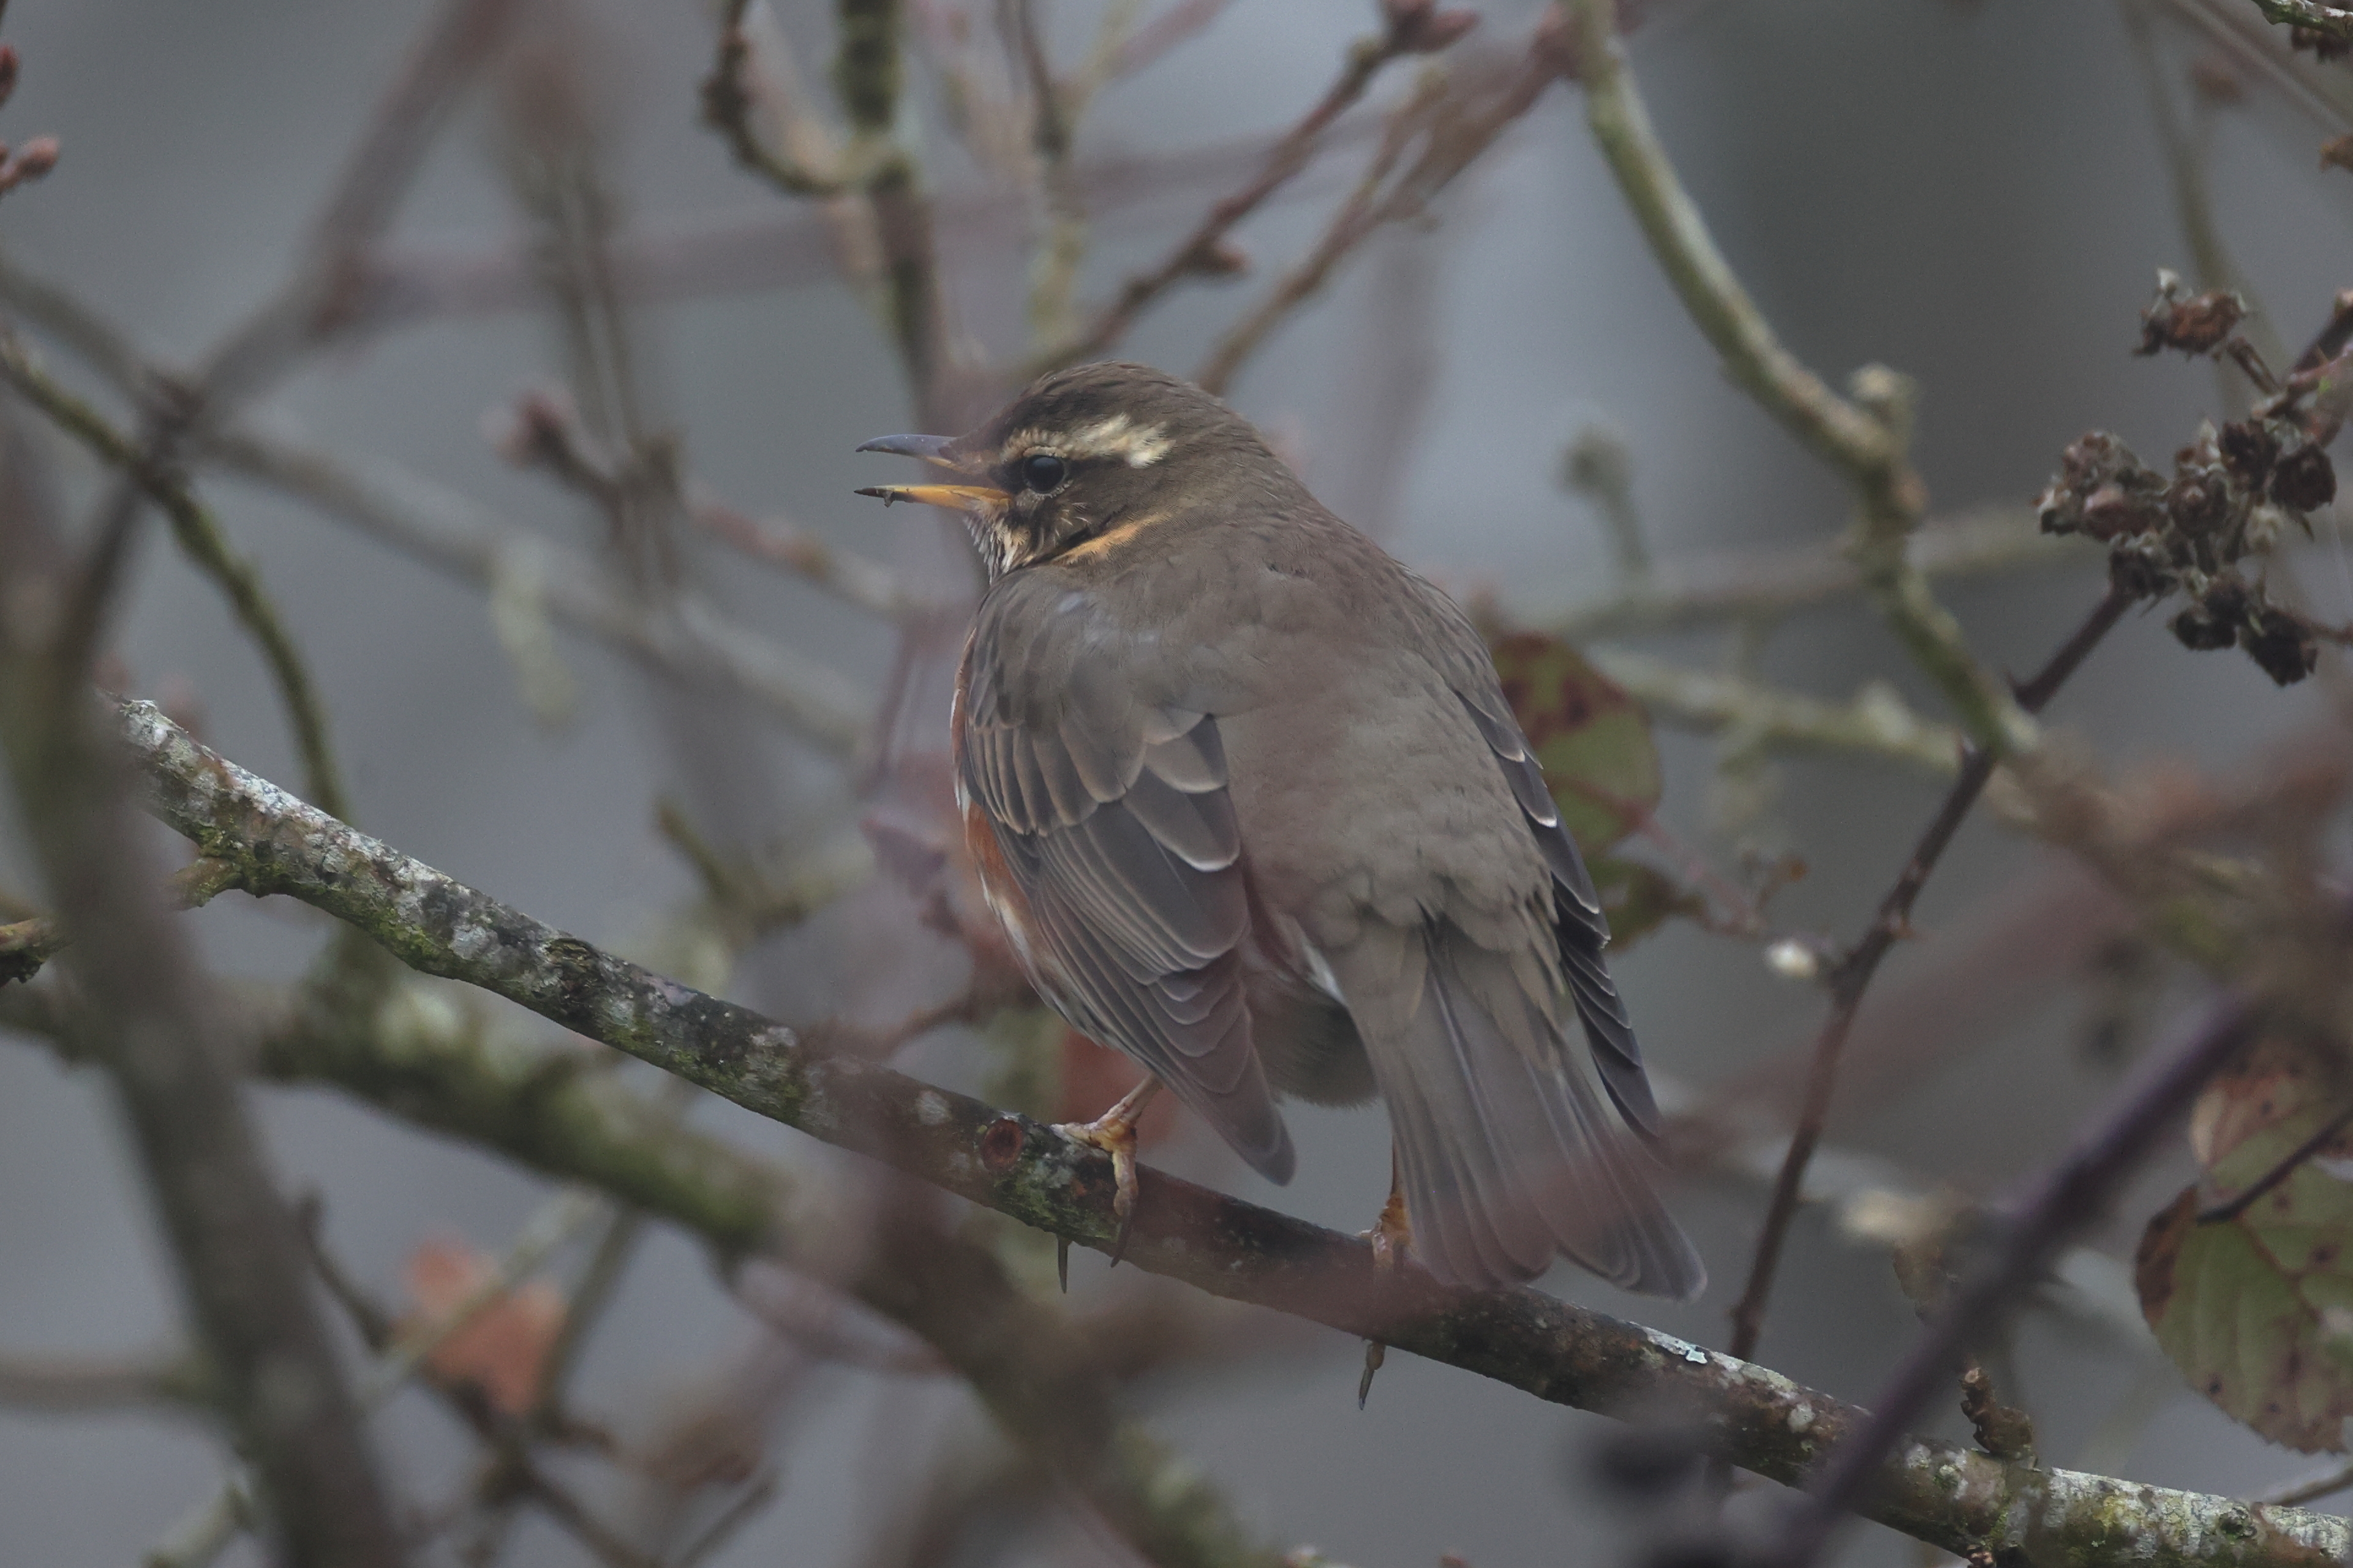
Really nice subjects, though!
KevinFRK
Refugee from Reddit
- 13 Posts
- 42 Comments
Joined 1 year ago
Cake day: July 1st, 2023
You are not logged in. If you use a Fediverse account that is able to follow users, you can follow this user.
Interesting to see a technical use of photography posted here.
 2·2 months ago
And good tutorials you’d care to recommend that explain what they are trying to achieve? I just have a self taught process with Canon’s DPP4 on RAW format, only working on brightness, as follows:
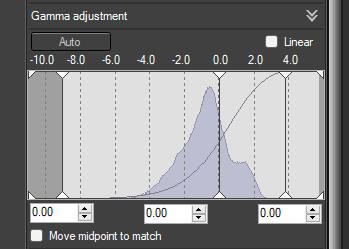
- Turn on any over/under-exposed markers
- Move the left slider to the right until it reaches non-zero parts of histogram and/or get under-exposed markers, move back a “bit”
- Move the right slider to the left, unless reaches non-zero parts, or get over exposed markers - but go further if its only sky, and you don’t care about it
- The tricky bit, move the centre slider to the right if the picture seems “washed out” and to the left if there’s too much dark in the part of the picture you care about - this is extremely subjective
Doing this, you make greatest use of the range of tones (shades, whatever) that the end JPG can offer, and get the detailed tone changes in the zone that matters… maybe.
Using the general brightness slider achieves similar but distinct effects - you might mix and match
This sort of activity should work in any tool. You might be able to do it for selected areas or colour, but I don’t/can’t. You might be able to tweak the curve more precisely, but likewise I don’t try.
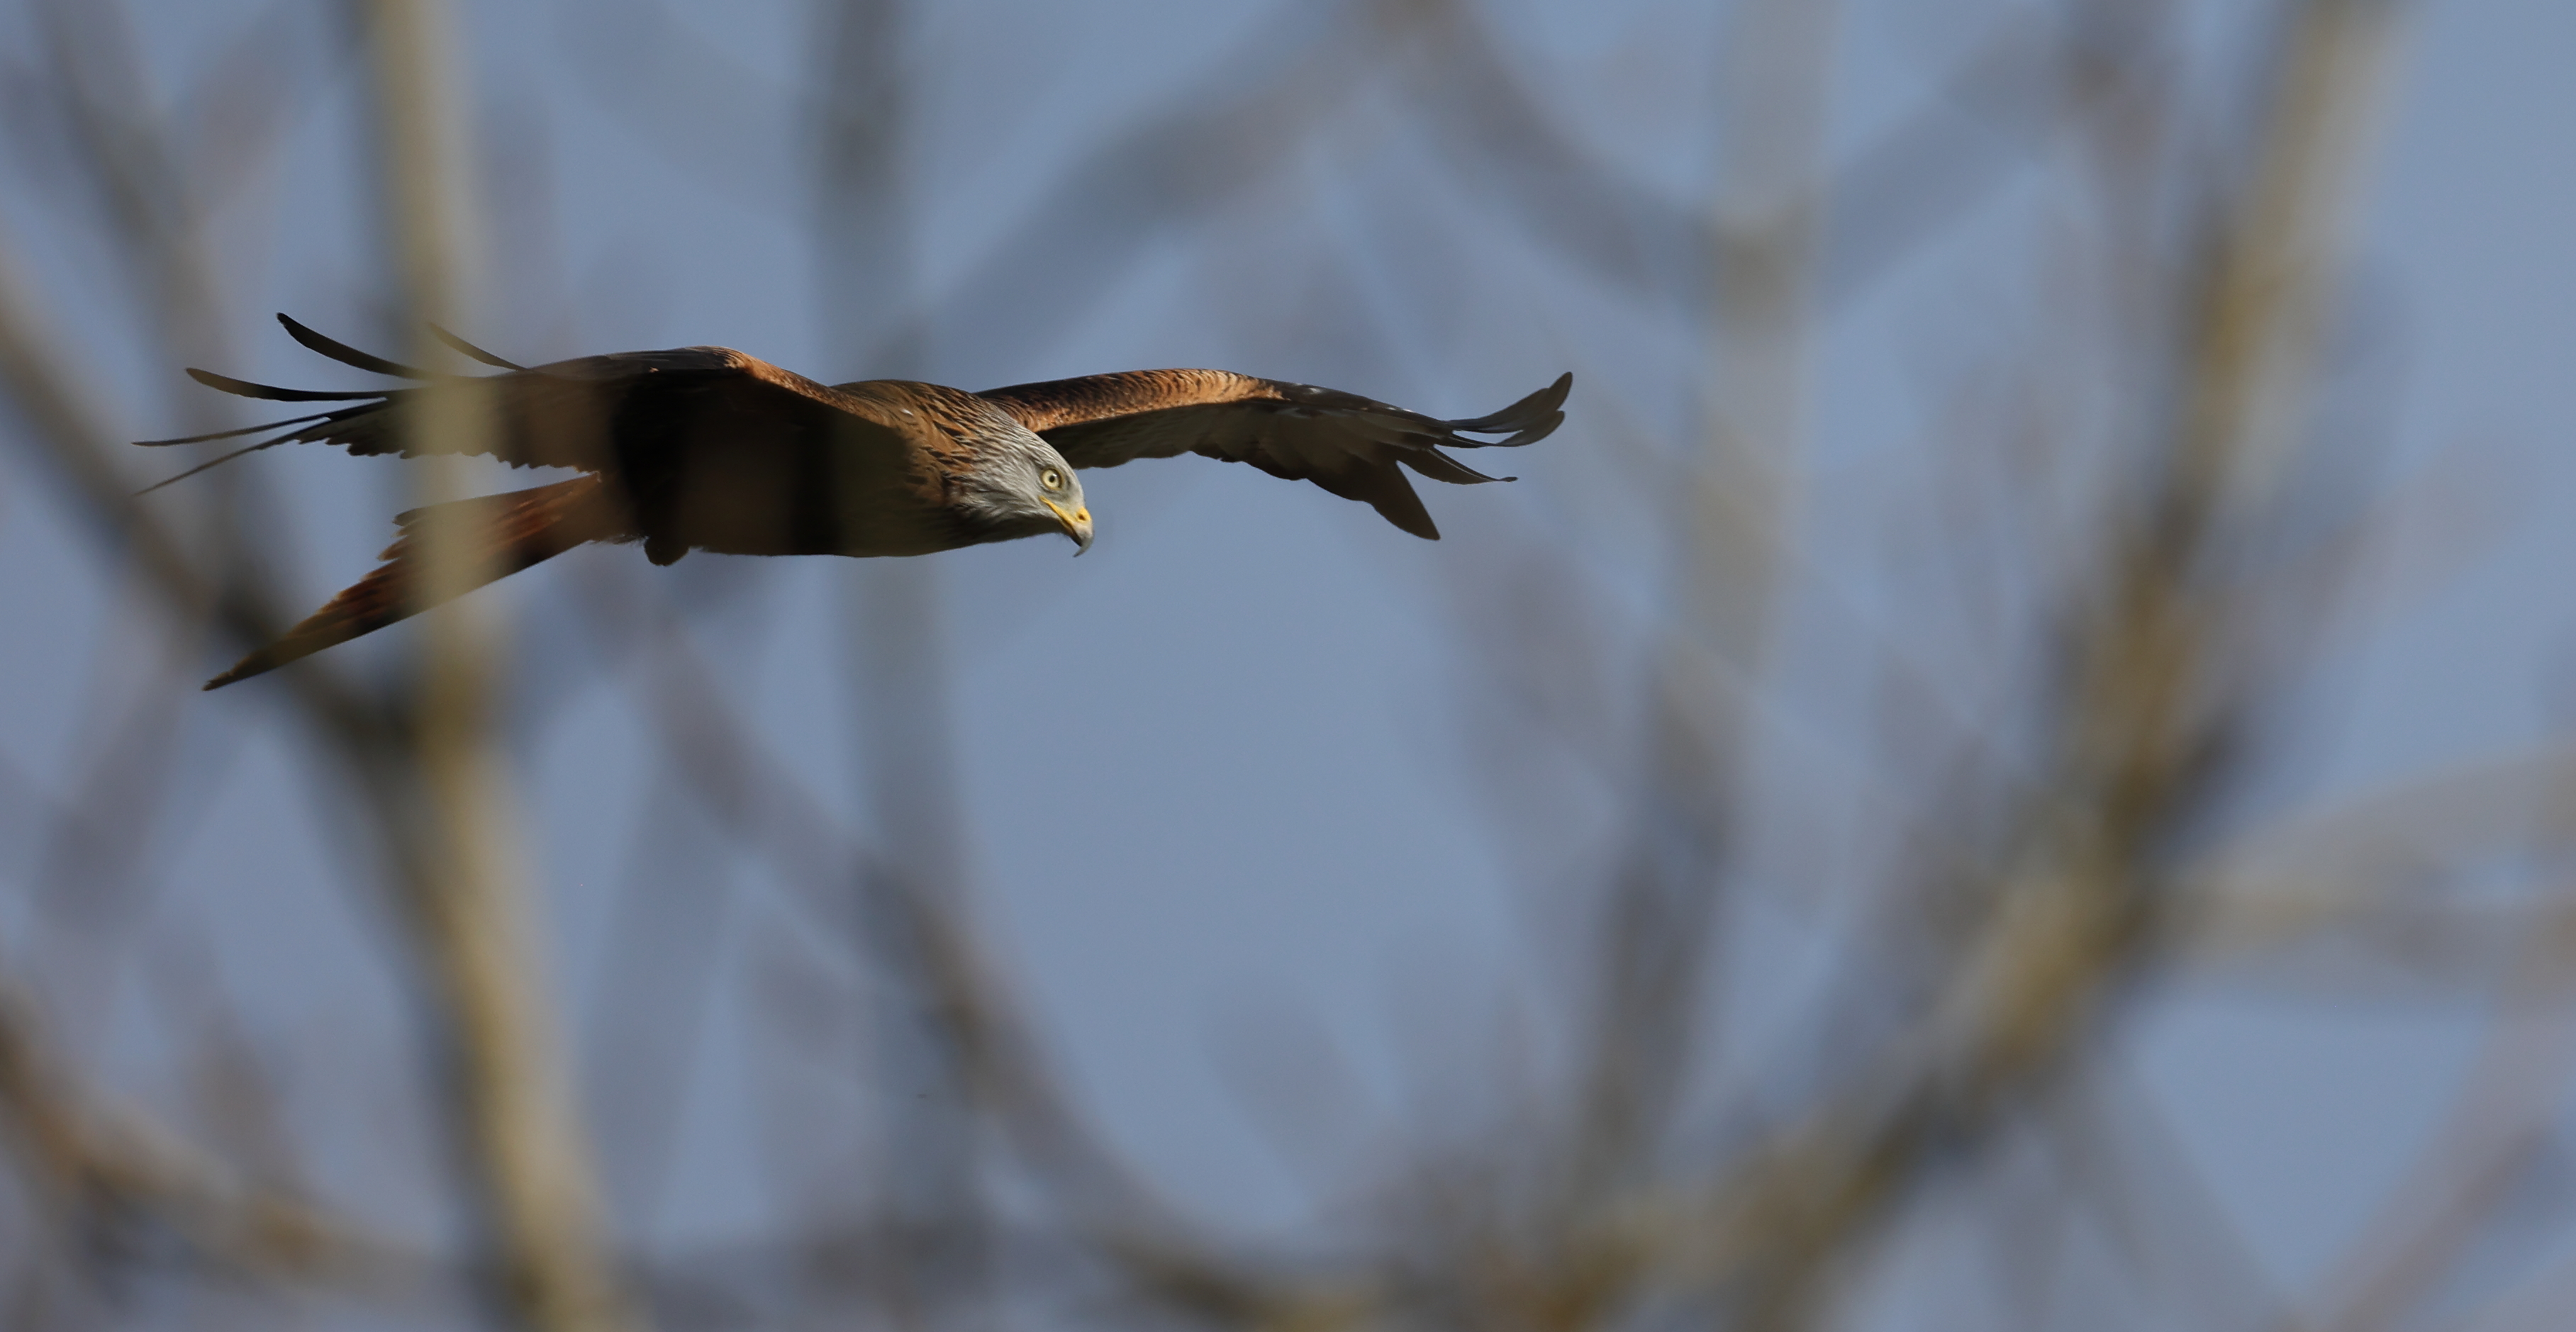
Those are the tools to play with (might also be called Gamma Adjustment), but I think in this particular case, because of those lovely areas where the sun is shining through, having the rest of the body dark (and the sky bright) works really rather well.
If you know the focal length, good - I just remember the first time I went well below 50mm!
You know the events and their constraints: I mentioned it because the monopod is just to provide a rest, and not actual support it can be really light and collapse down pretty short. Sort of thing that can dangle from a belt.
And enjoy the party!
Advice you are probably already aware of (as IAMALlama has already given excellent technical advice):
- Whatever you go for, do an experimental run in comparable conditions beforehand. Preferably two or three, especially if the event is important to you. Learn the lens and its quirks, and what post-processing can save.
- Have you ever tried a monopod to address handshake? Much less in the way than a tripod, yet almost as good.
- Focal length dictates the best distance at which to take any scene to “Fill the frame” (and v.short can also get a little disorienting). The resulting Depth of Field, which others have mentioned, also has an impact. Think about the sort of photos you are after, and make sure in particular those 24mm lens meet the requirement.
- Think about backup kit and accessories (batteries, cards, …).
- Make sure you also enjoy the event, not just get photos of it!
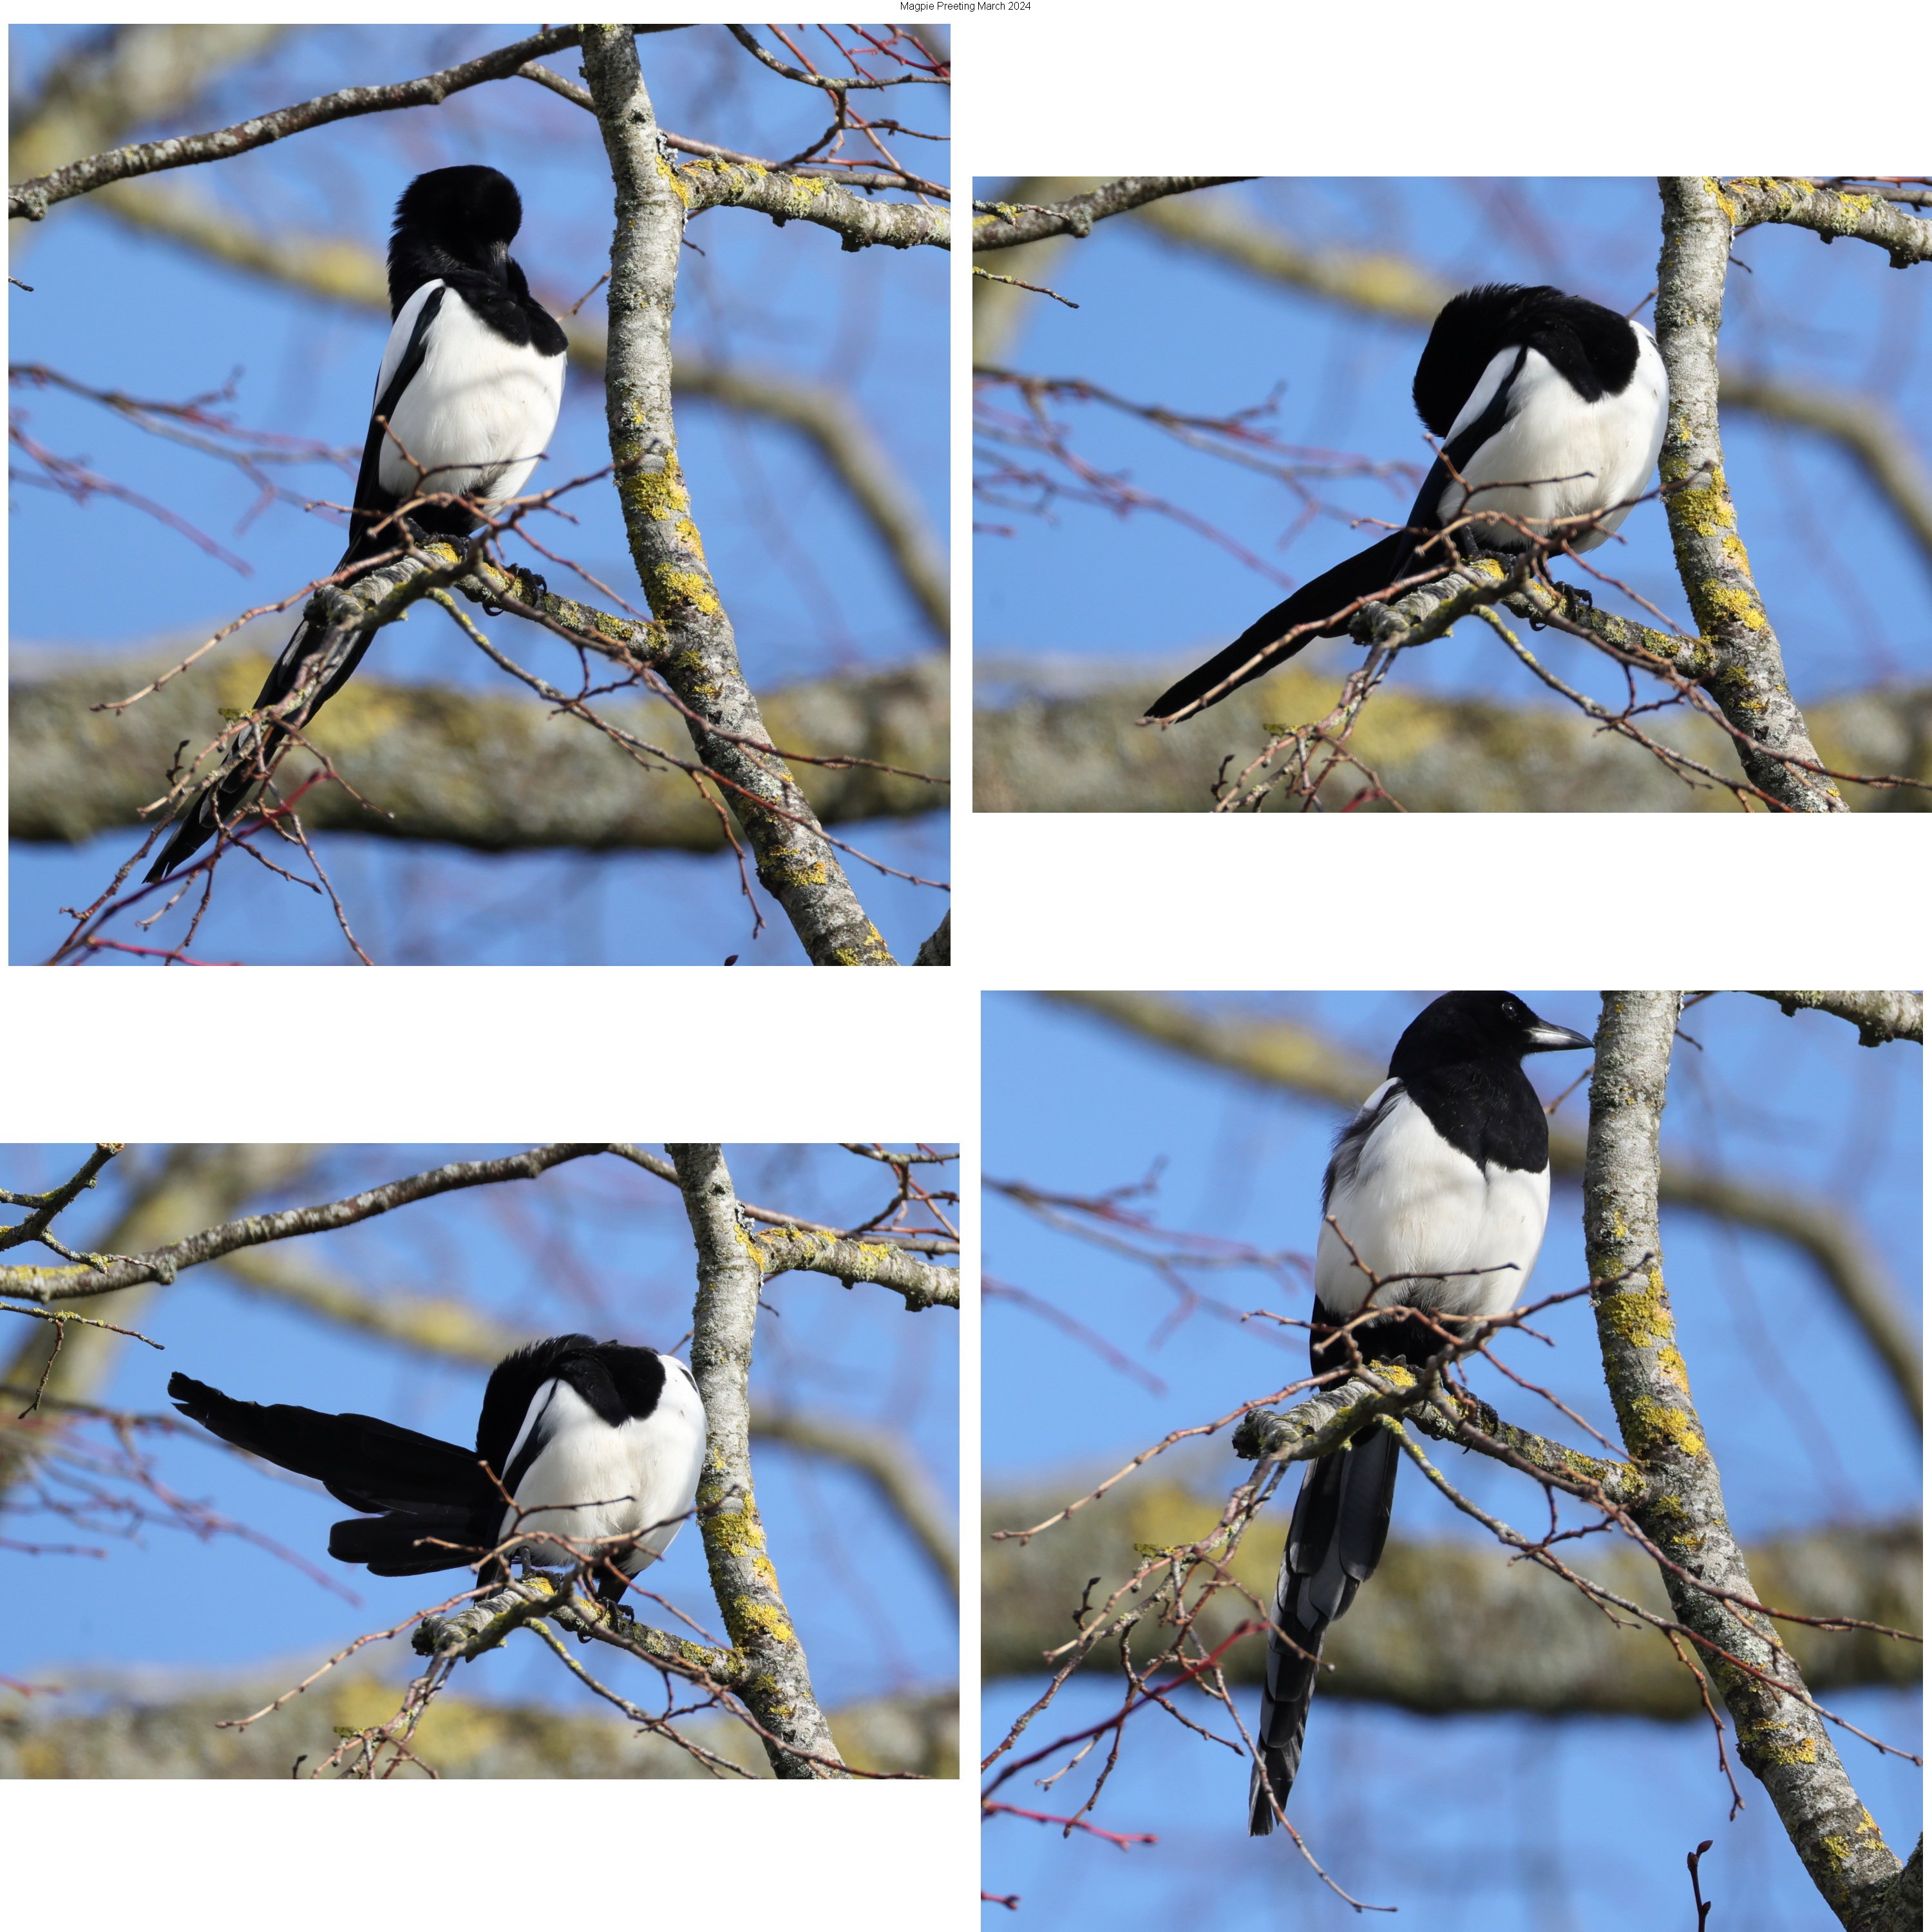
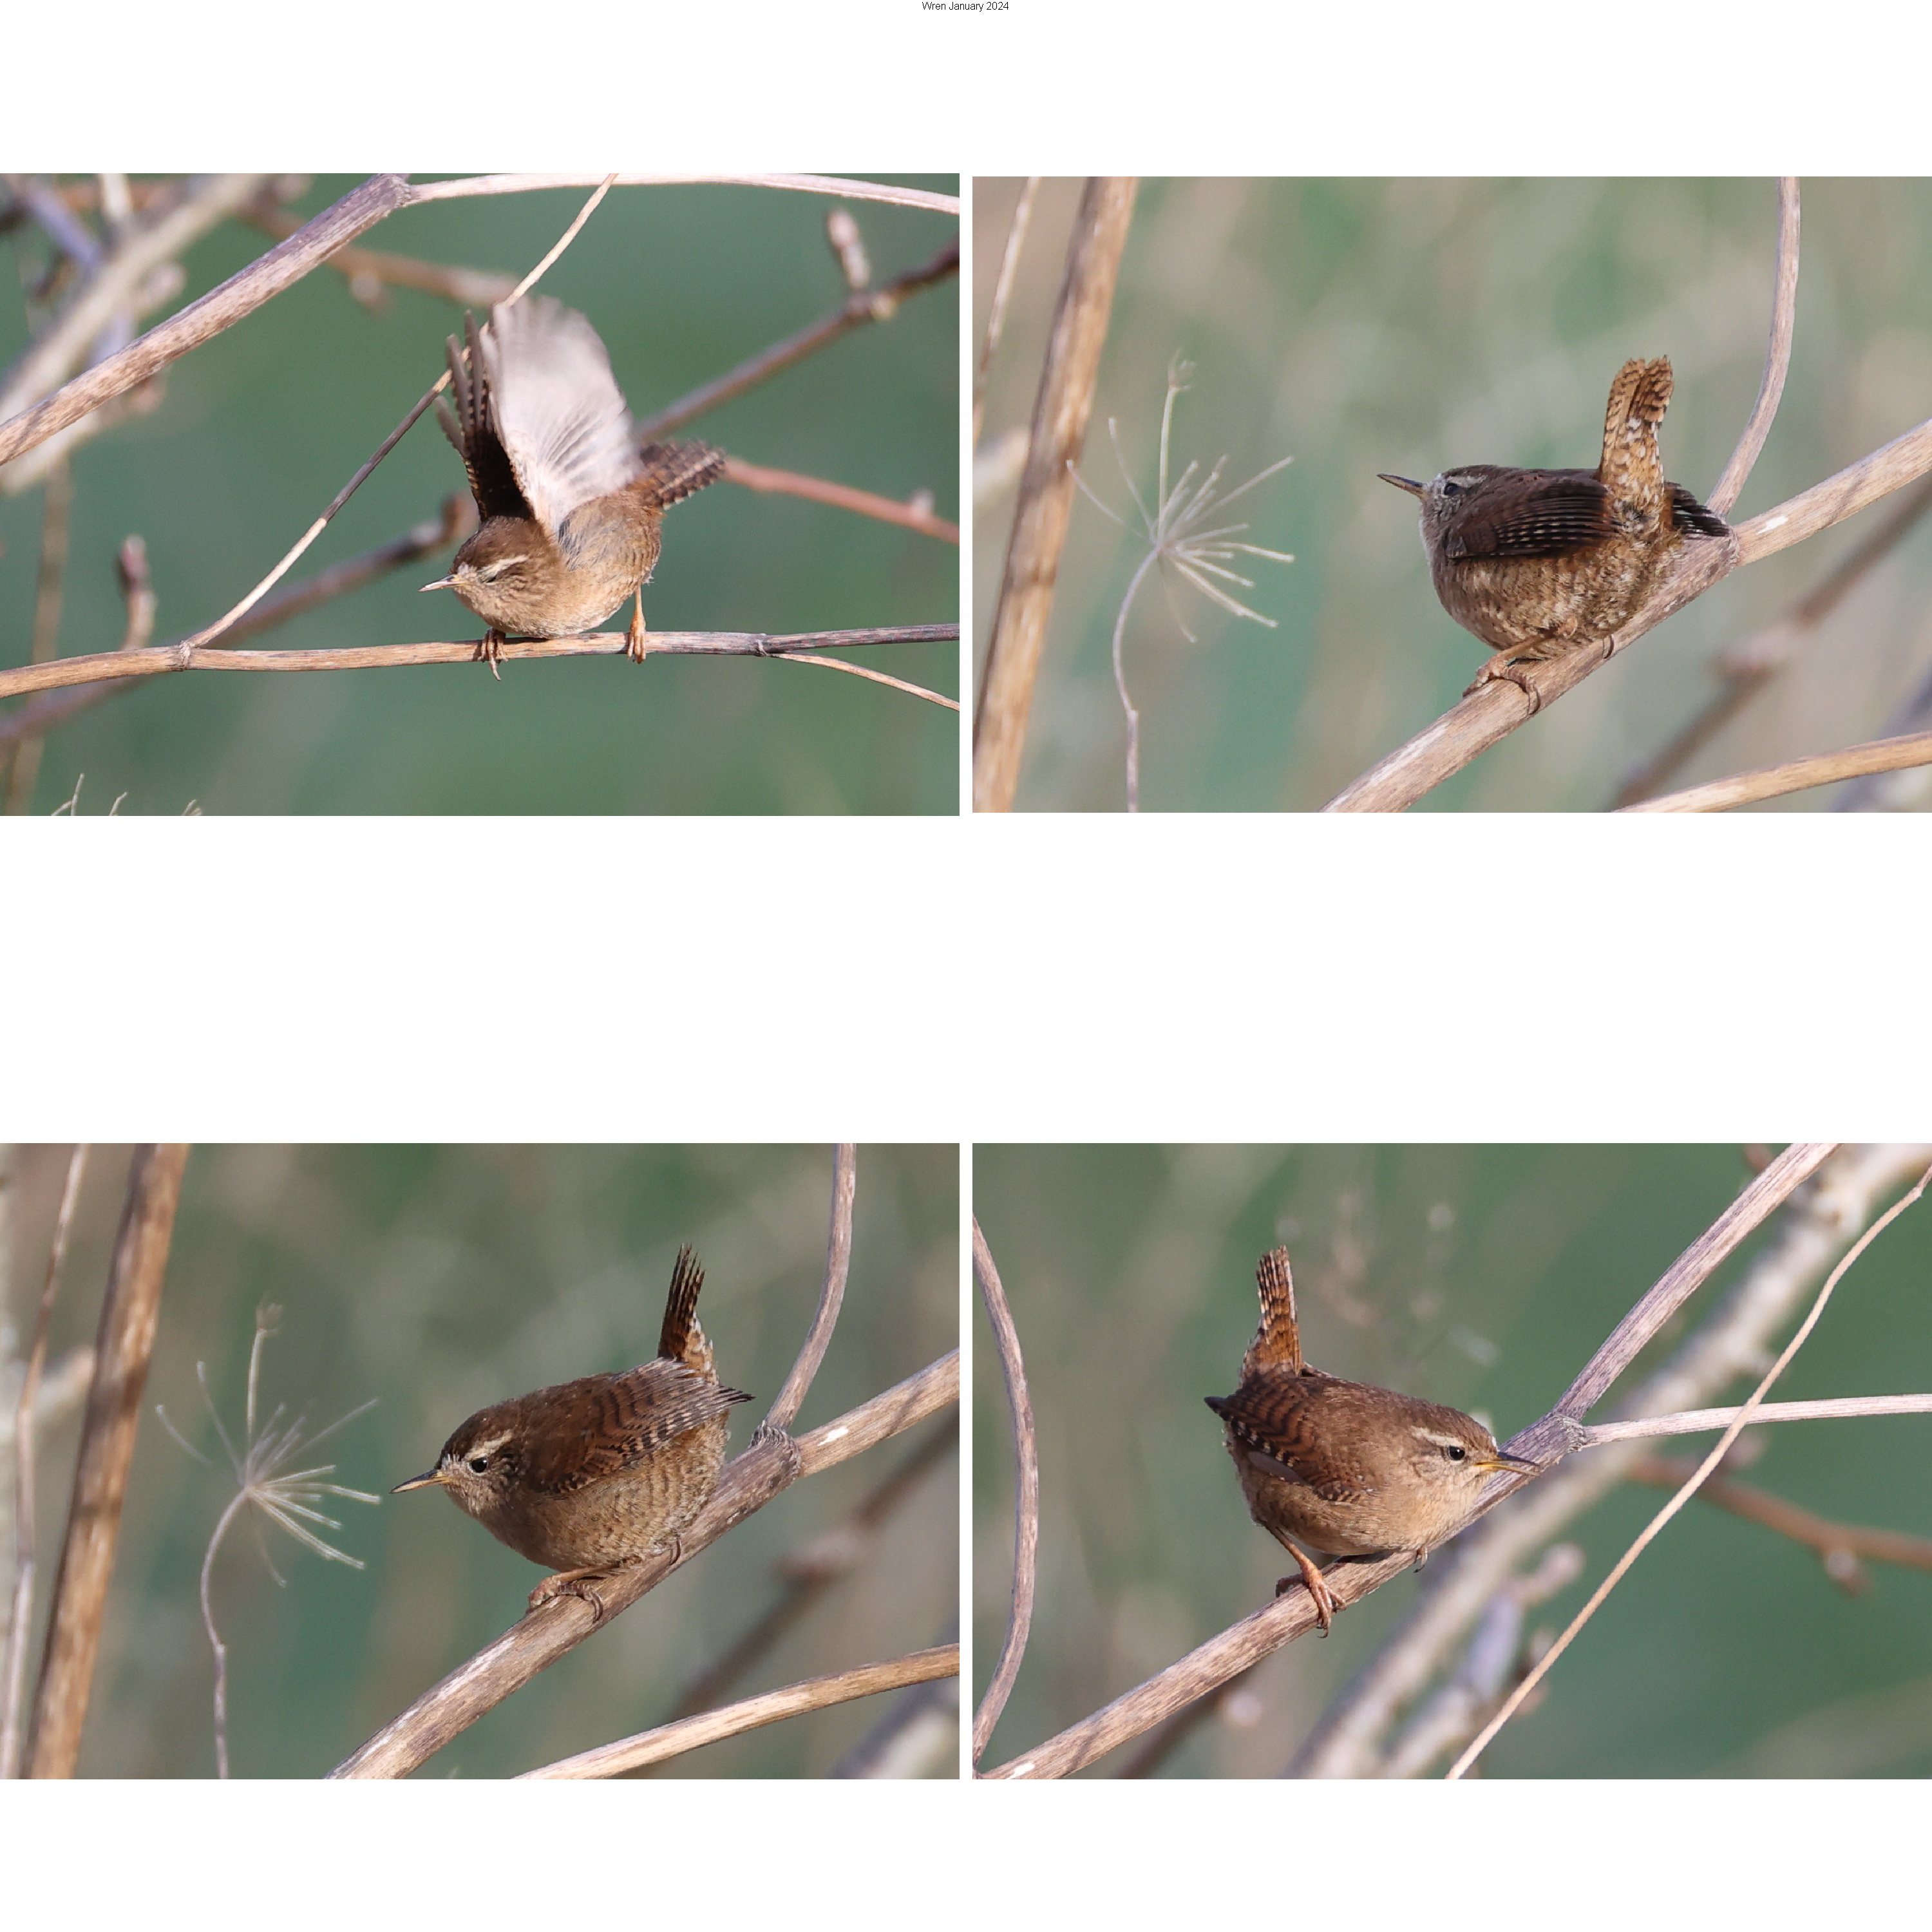
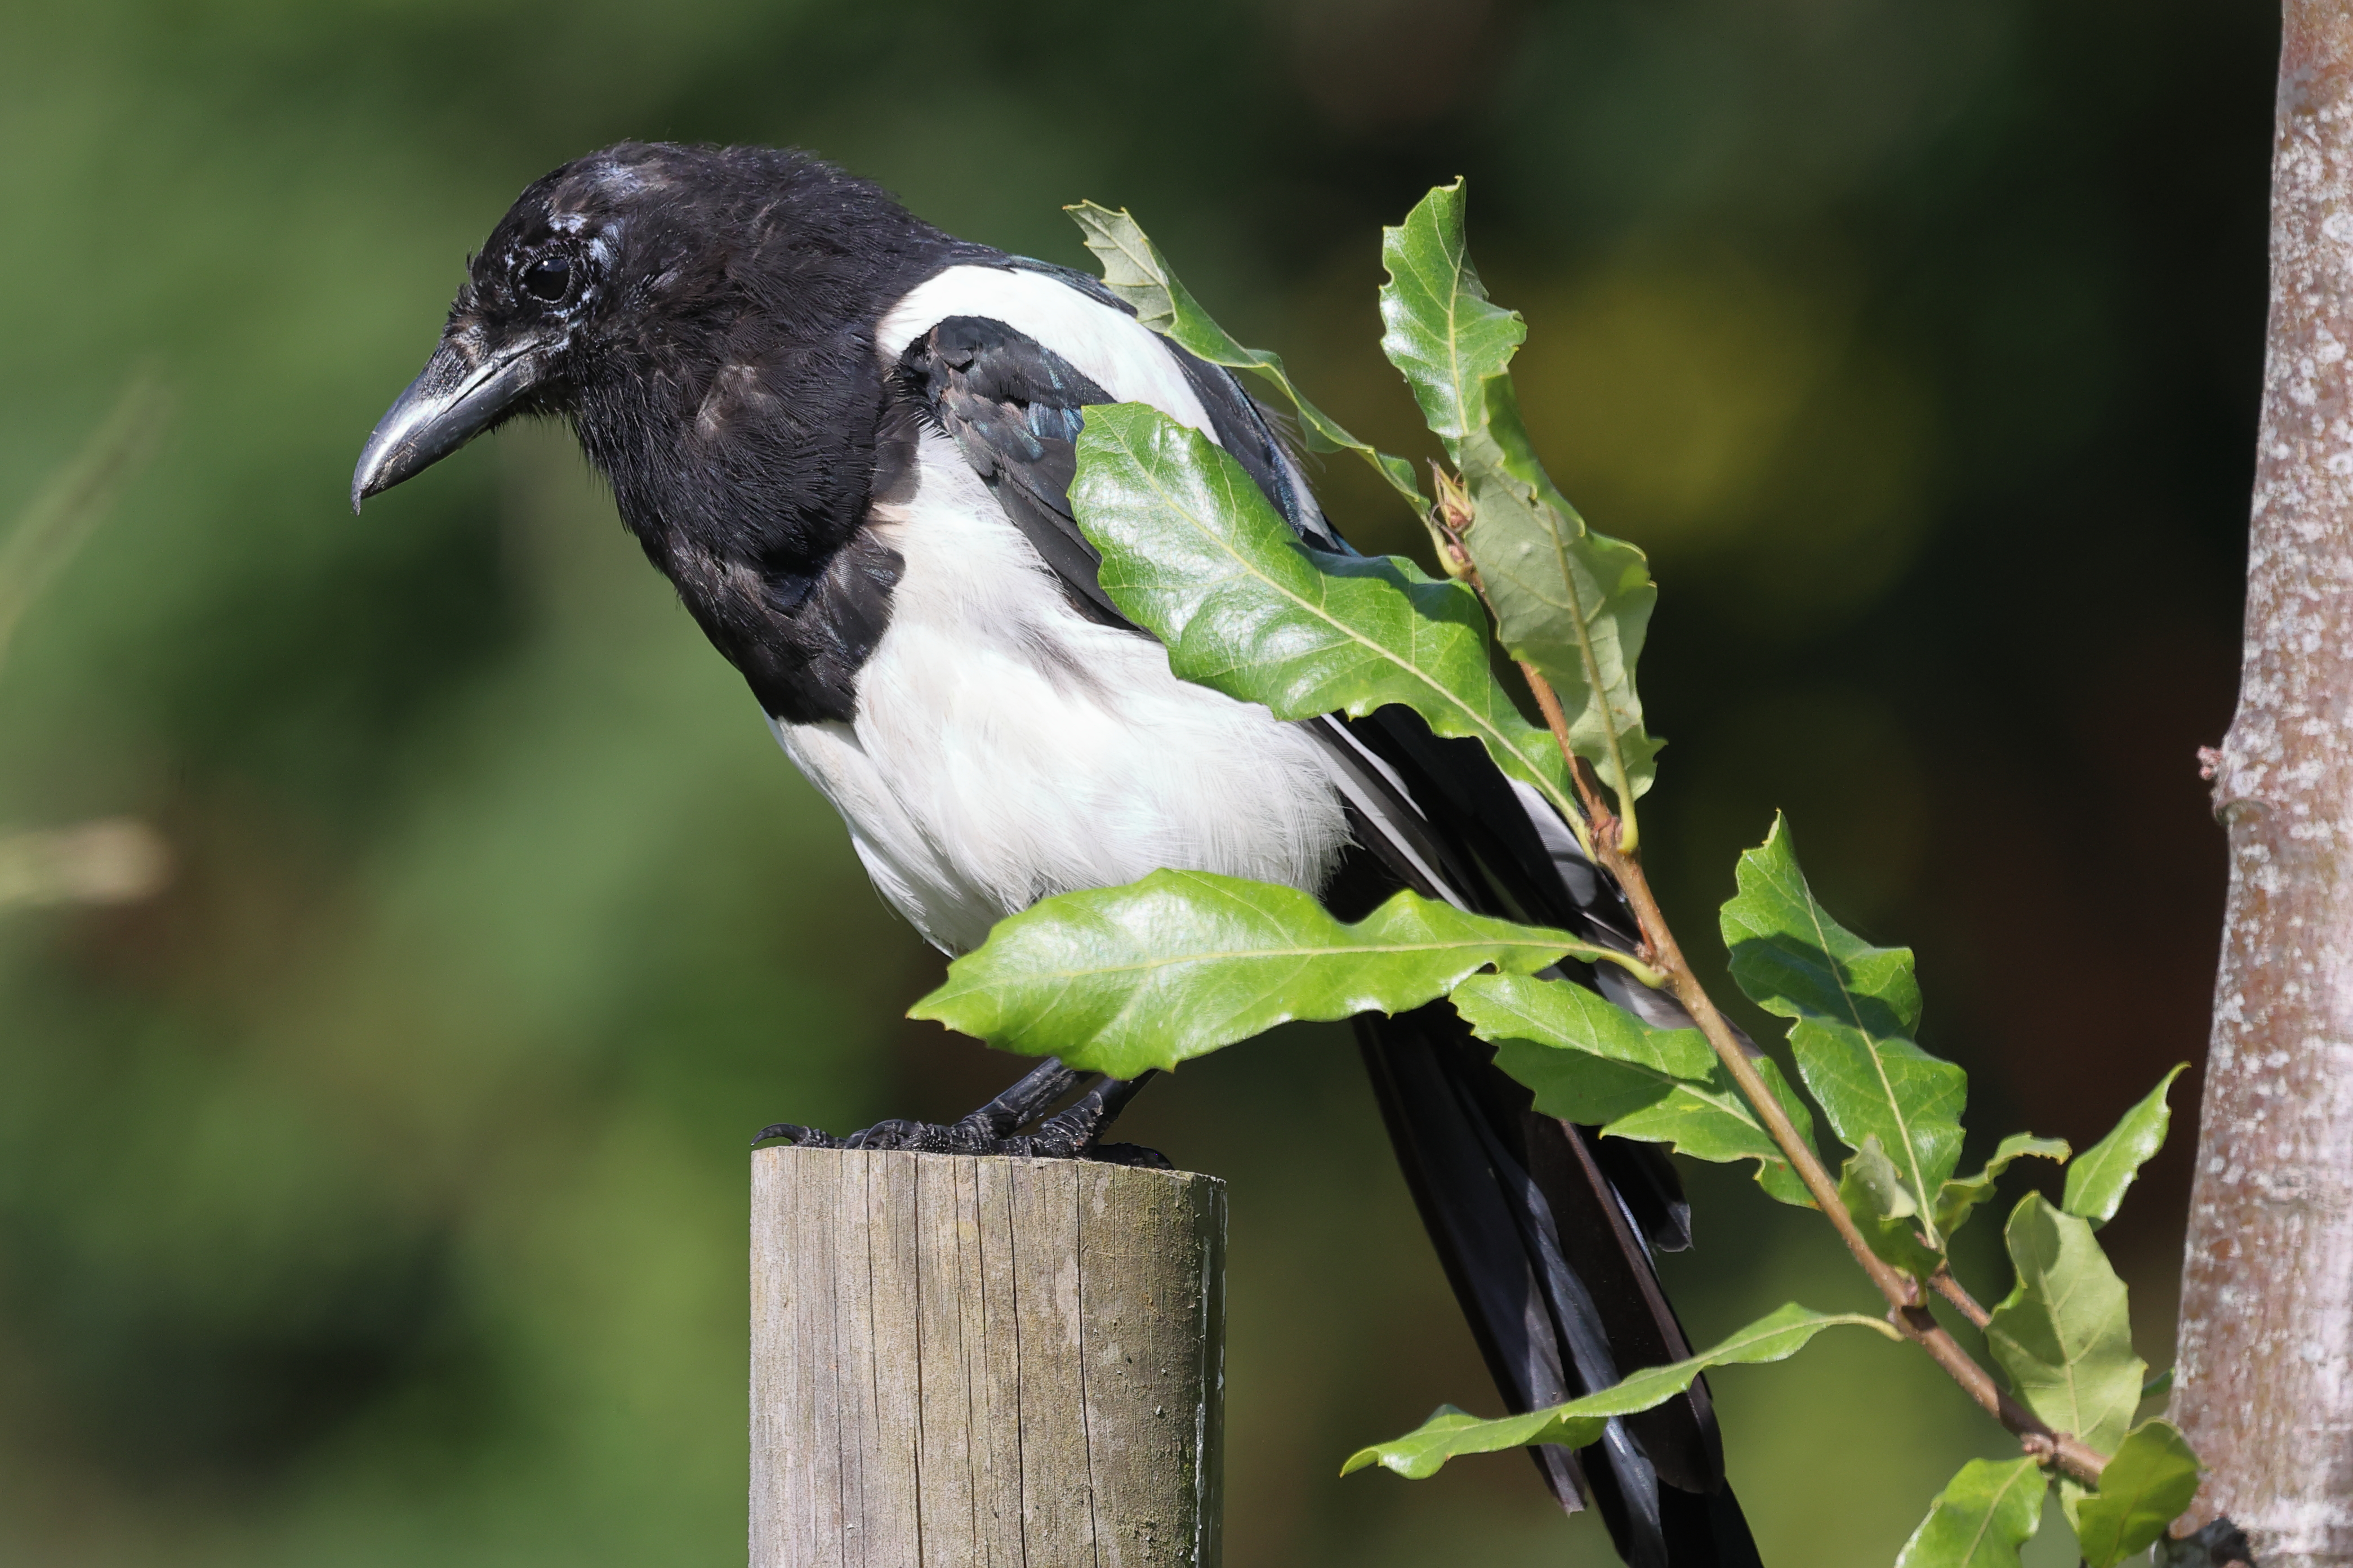
Nice to see the highlights on the feathers.
On time taken to think - it’s more the bittersweet admiring/wondering at wildlife vs. remembering what this weight in my hands is for!
On a related note, getting over the embarrassment of using burst mode freely (rather than working on having perfect timing) has definitely helped.
On swapping focus modes - that’s almost down to instinct now, my fingers know where to go and how many times to press.
Sorry - been away for a few days.
Your advice is good, but mostly already known to me. For birds, it’s rare for the bird to fill the frame on my 600mm lens, never mind a 200-800mm zoom - so it’s cropping that’s important. Shutter speed - as high as the light allows :) Generally around 1/1000s on the zoom, faster on brighter days. I walk around with the camera on: my walks are rarely more than an hour at a time, so no chance of flattening the battery (and a spare is carried) - the time is just noticing the bird, thinking “I want to photo that” (which takes remarkably long at my age), actually getting the bird in the frame (one major draw back of long heavy lens, and the real time killer), and then waiting for AF to kick in.
I seem not to be using manual focus these days, just single point auto-focus for birds in a cluttered shot. I think manual focus would be more relevant in an hide and/or with a tripod: the time to focus manually means the bird better be still or I need to know where it will appear.
I dodge most black/overexposed issues by shooting in RAW (so far more forgiving) - though I do use exposure compensation when shooting birds against the sky.
Thank you for the content and effort put into that reply, you are generous.
My main interest is wildlife, and because I so rarely get more than a few seconds of shooting on any subject (and many that entirely get away before I notice, align lens onto subject and auto-focus does its thing on what I’m after) so I don’t have large numbers of photos from a walk so the culling process is not that bad.
I certainly agree that high ISO is not, in and of it self, a guarantee the photo is no good, though there is some loose correlation - and your cat photo makes the point well.
I’m just wondering whether your approach might be used to give pointers on how to balance settings “when every second counts”, and there’s a lot to be said for just taking the shot regardless. But, as ever, really I ought to just try it myself and see!
This is hardly a high traffic group. I’d recommend just posting away until someone complains, and then invite them to create a regular Questions thread (which seems to be a proven approach for all I find them rather missing the point of this format).
Interesting project, and well done for making it reality. I’ve only had fanciful musings along these lines.
One question, do you rate your photos (e.g. 1 star, 2 star, etc.) and have you tried understanding the characteristics of what you tend to like? My musings imagine there is a level of ISO which caps my liking of photos to “That’s OK”, and another where it makes taking the photo almost pointless apart from as a record of what was seen.
Good, that will do it.
Thank you!
Not that I’ve seriously done stacking, but one thing that might help (based on long exposure experiments instead) is a shutter release cable, assuming your camera has a socket for such. It can reduce the vibration from manually pressing the actual shutter button, and may save the first few shots of your sequence. If your camera is wi-fi connected, you may have an app to do the same.
Really nice work. Obvious questions:
- How many photos were being stacked?
- Was it just manually adjusted focus from a fixed (tripod?) position, or were you using something to physically move the camera in increments or other methods?
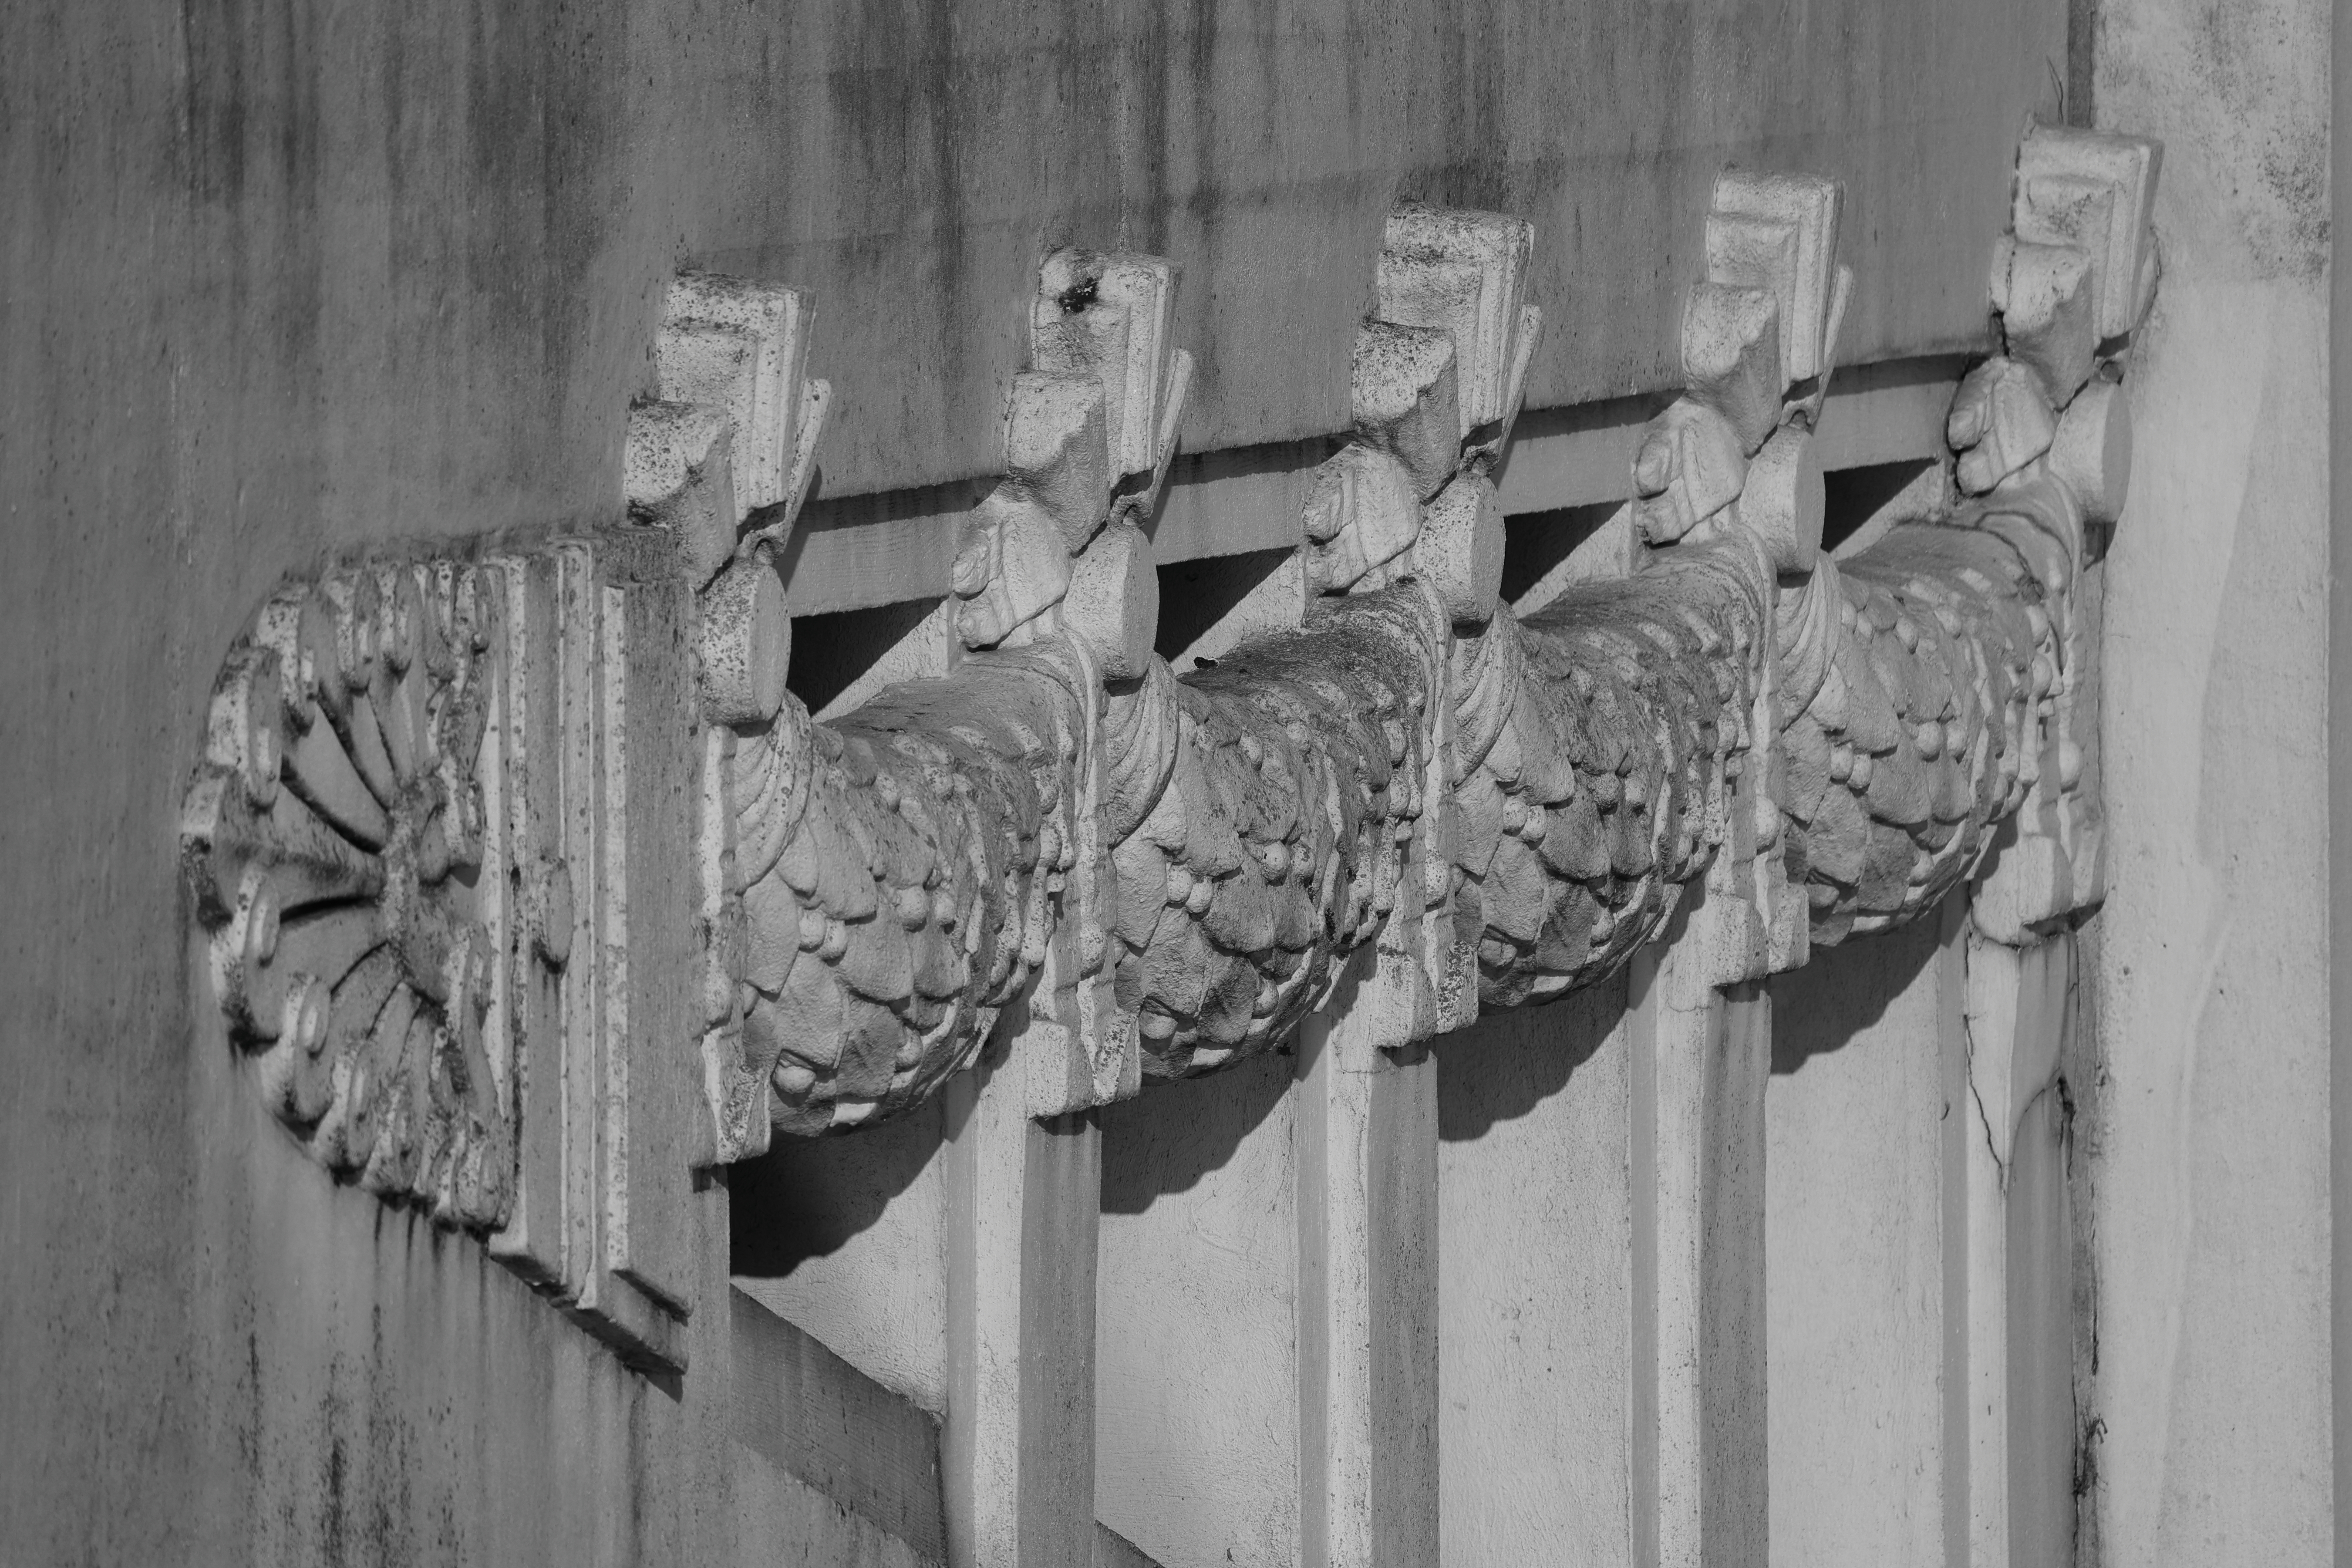
It’s an interesting shot, and the composition seems right. However, was it perhaps taken with a wide angle lens (a focal length well below 30mm if a full-frame camera)? The buildings on the left seem to be leaning in at the top while the ground floor window on the far right looks vertical - which hints at the perspective issues I associate with wide angle shots. It may be you can reduce the issue by changing the rotation of the entire photo by a one or two degrees, so that the centre is straight.
It’s good art if it satisfies the soul of its creator … if it satisfies anyone else, that’s just a side benefit.
I’m pretty sure you don’t suffer from this problem (especially as you recognise B&W needs a different approach), but I came across too many photos where it was clear the photographer had just presented their shot as B&W because that’s “Artistic” (and no other reason) while there was almost certainly good colour in the scene they took a photo of - it’s those cases where I see it as throwing away information.
Ah - using a mobile phone, I should have guessed, and a phone does suit what you are trying to achieve. It also means you are not carrying around a bulky expensive thing, which is a bonus.
Shooting Black & White is a different sort of limitation: to me B&W only suits scenes where there is very little colour variation, as otherwise you are just throwing away information (yes, I have a computer background!) which feels wrong. Looking back on what you’ve posted, (in my opinion) you’ve generally stuck to images where B&W works.
Oh yes, and also of only realising in post-propressing that the shot isn’t quite as good as you hoped when you did it.